FAVORITE HOBBY LOADING...
Welcome to the World of Needlepoint
We’re absolutely thrilled to have you here! Whether you’re picking up a needle for the very first time or just getting back into the groove, we’re here to cheer you on every stitch of the way.
Needlepoint has given us so much: joy, creativity, connection, and a little peace in a busy world. And now, we can’t wait to share that with you.
At The Needlepoint Clubhouse, community is at the heart of everything we do. Most importantly, we’re here to help. From picking your first canvas to mastering your favorite stitch, we’ve got your back (and your thread).
Table of Contents
- Your First Canvas
- Your First Supplies
- Your First Stitches
- Your Next Steps
Your First Canvas
Projects
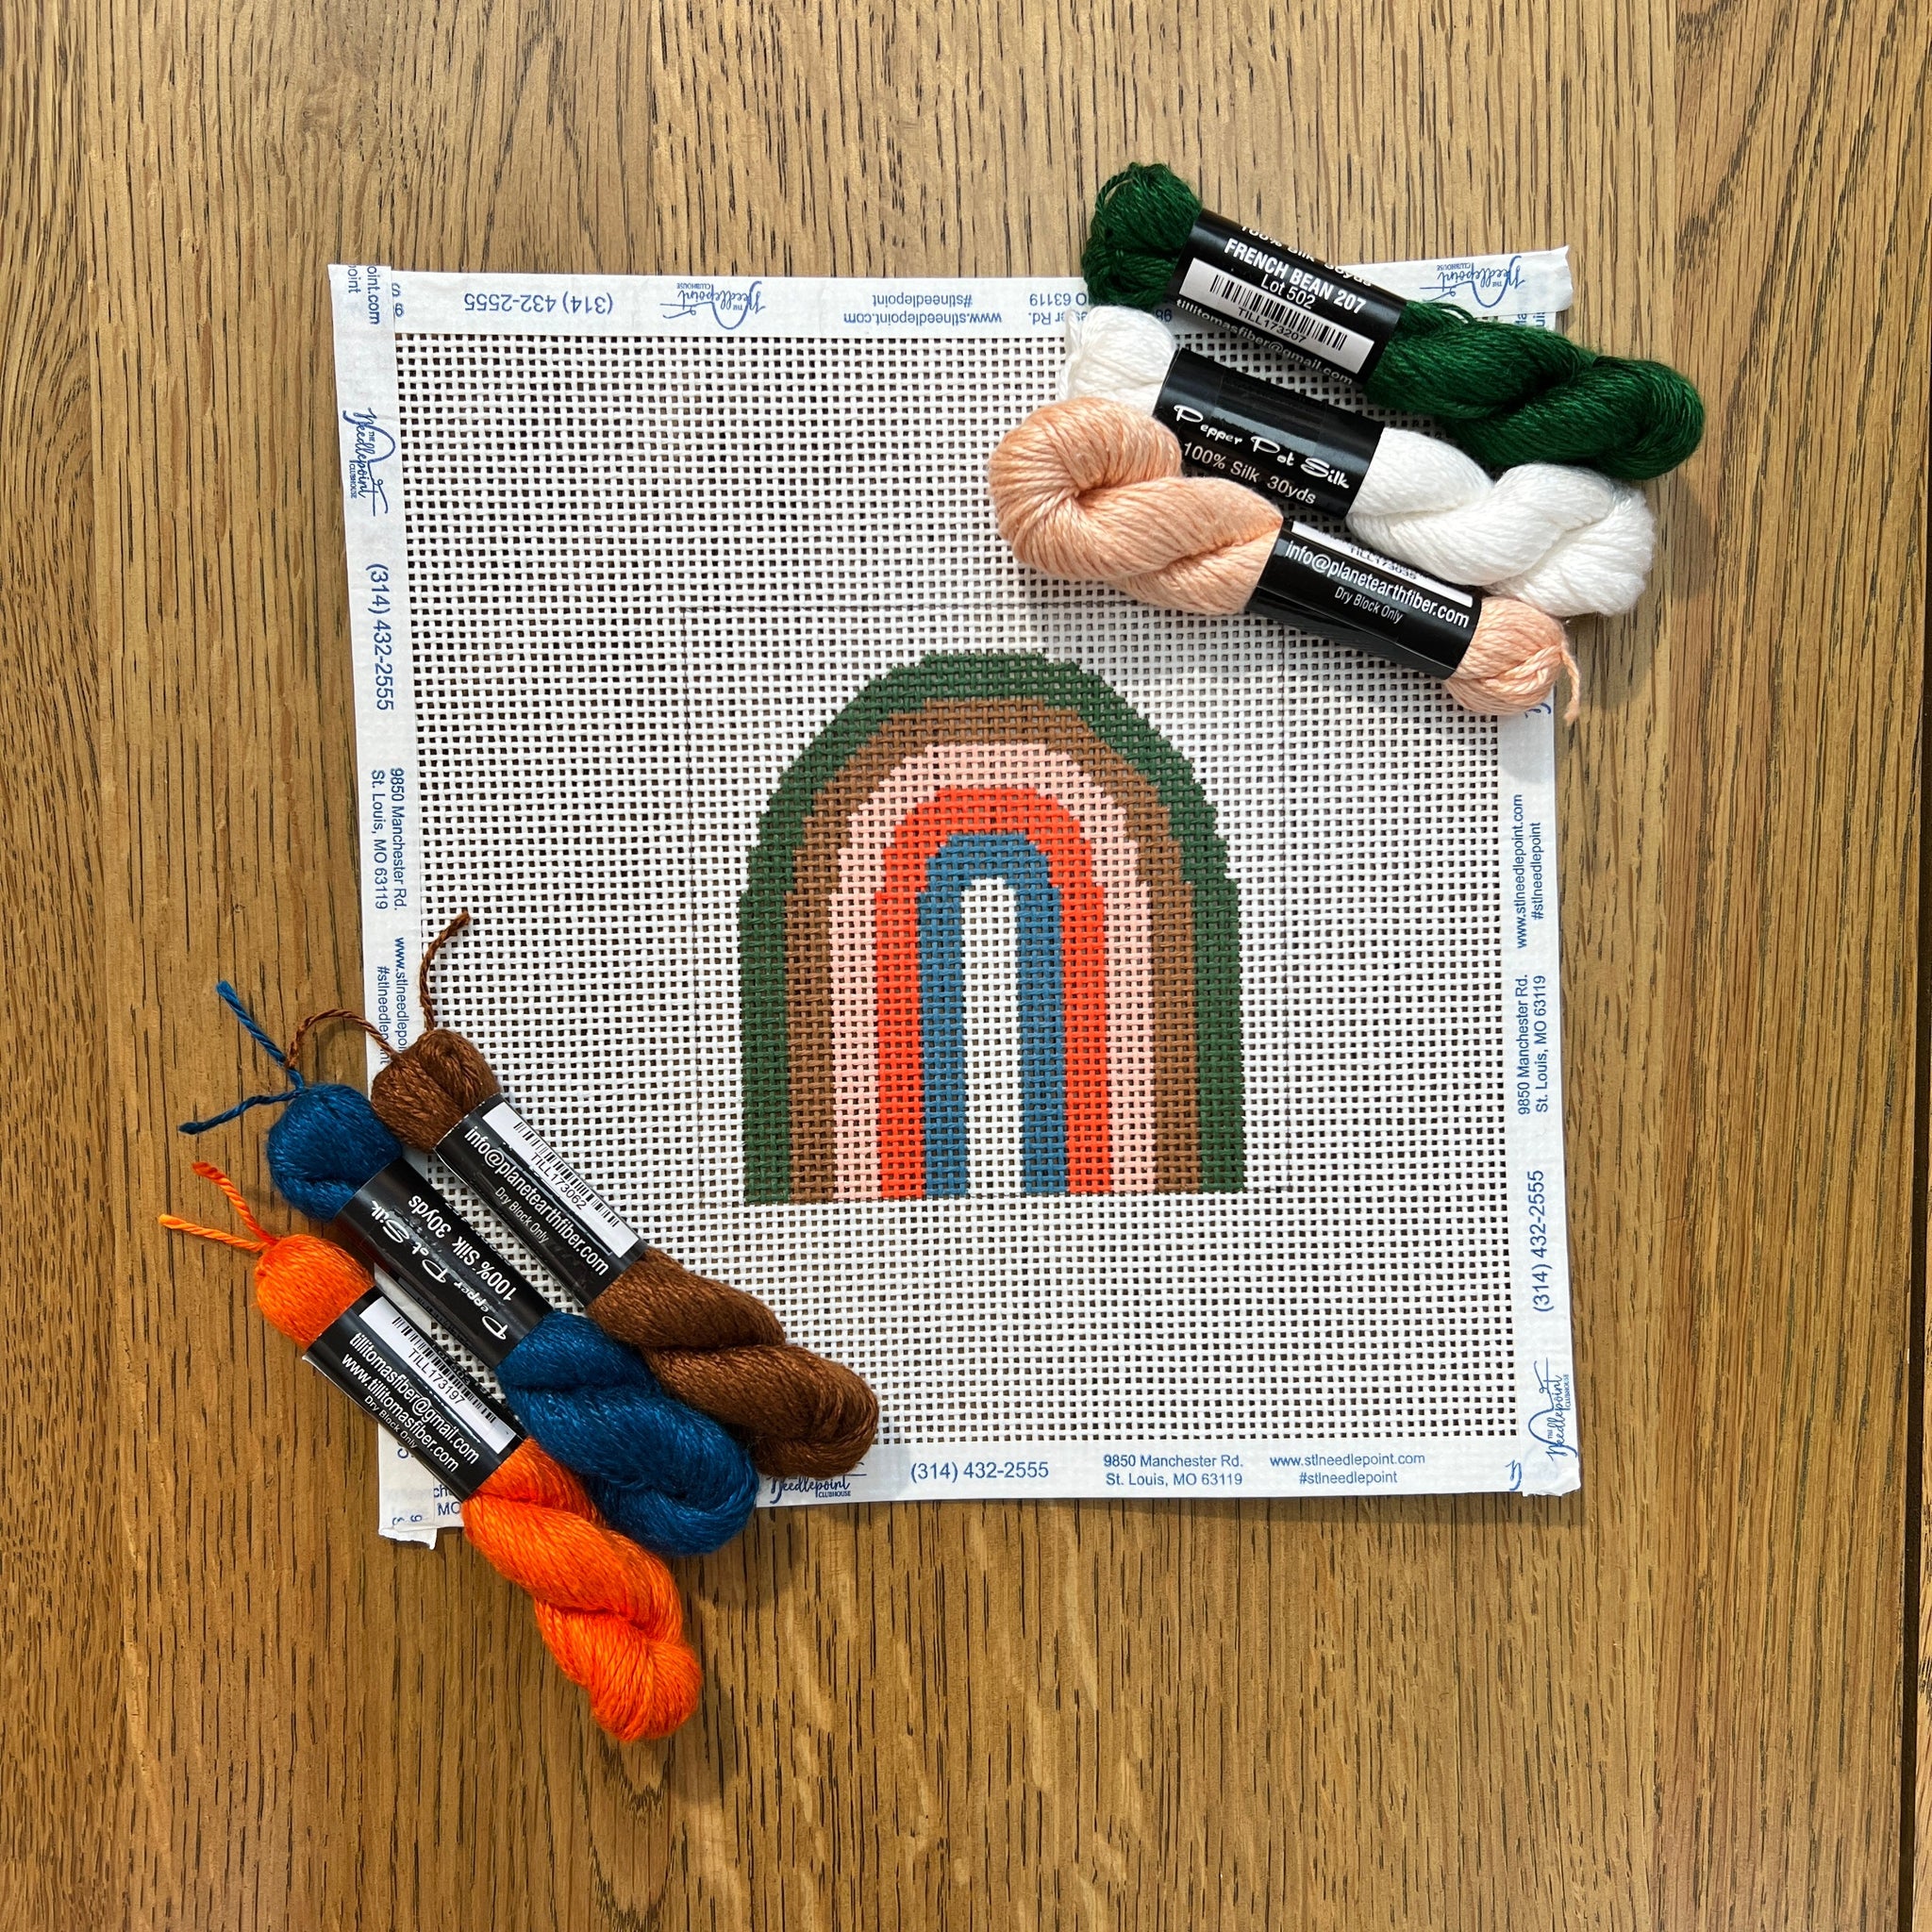
The most important thing is to pick a design you really love. We have thousands of canvases in our collection at any given time -- we want to help you find the one that really speaks to you.
Many who are new to stitching also find success with smaller projects, like an ornament, key fob, eyeglasses case, etc. that does not require too many colors.
Mesh count is another consideration, which refers to the number of stitches per inch. The two most common sizes are 13 mesh (bigger holes, easier to see) and 18 mesh (smaller holes, more detail).
Shop our collection of suggested Beginner Canvases.
A Stand or Frame Weight
Some stitchers prefer to use a stand or frame weight.
Your First Supplies
Needle
With every canvas, we supply you with a needle.
Match your needle size to your canvas:
13 mesh canvas → Size 20 needle
18 mesh canvas → Size 22 needle
Tip: The higher the needle number, the smaller the needle.
A Stand or Frame Weight
Some stitchers prefer to use a stand or frame weight.
Thread or Fiber
Choose colors and textures that bring your canvas to life. Different threads pair better with different mesh counts, and we would love to help make sure your selections match your project.
Scissors
A good pair of embroidery scissors is essential. If you’re on the go, consider scissors with a case to keep them safe in your bag.
As you learn more about the way you prefer to stitch, you may find other supplies helpful, such as a project bag to keep your supplies organized, a needle minder, stretcher bars, or a needle threader. Shop our selection of notions to learn more.
A Stand or Frame Weight
Some stitchers prefer to use a stand or frame weight.
Your First Stitches
You’ve picked your canvas, gathered your threads, and have your tools at the ready—now the real fun begins! It’s time to make that first stitch and start bringing your project to life.
Tent stitches are the foundation of needlepoint. There are two main techniques for stitching a Tent Stitch: the Continental Stitch and the Basketweave Stitch.
View Megan's Musings on these two foundation stitches here.
Basketweave
Simple, efficient, and easy to learn, the Continental Stitch is a go-to for beginners. This stitch is worked in straight rows (either horizontal or vertical), providing good coverage on the back of your canvas. That said, it can sometimes distort the canvas slightly due to tension, so using stretcher bars or blocking your finished piece can help keep things neat.
Stitching right to left? Go up and over (Texas to Maine). Stitching left to right? Go down and over (Maine to Texas).


Continental
Want something strong and long-lasting? Meet the Basketweave Stitch — your best friend for large areas, vibrant color coverage, and keeping your canvas from warping. This technique creates a subtle, woven texture (hence the name!) and is known for its durability and minimal distortion.
Here's the trick: Up the steps, down the poles. Step = horizontal canvas threads on top. Poles = vertical canvas threads on top. Once you see it, you’ll never forget it!
For quick and easy reference, we’ve created two handy PDFs, one for right-handed stitchers and one for left-handed stitchers. Just click below to download the version that works best for you!
Basketweave for Right Handed Stitchers
Basketweave for Left Handed Stitchers


Your Next Steps!
At The Clubhouse, we offer a range of classes for every skill level: from brand-new beginners to advanced stitchers. If you’re just starting out, we recommend Beginning Basketweave, a great intro for anyone who’s never picked up a needle before. If you already have a project but need a little guidance to get going, Basketweave 101 is the perfect next step to help you build confidence and start stitching with ease.
Click to view our shop calendar.